Self Binding Blanket Tutorial Featuring Riley Blake National Parks Panel
View more tutorials on Fabricworm.com

Self Binding Blanket Fabric Requirements:
1 yard of 44” wide fabric or a 36” x 44” panel
1 yard of 44” wide fabric or a 36” x 44” panel
1 ⅓ yard of wide width or backing fabric measuring 46” x 54”
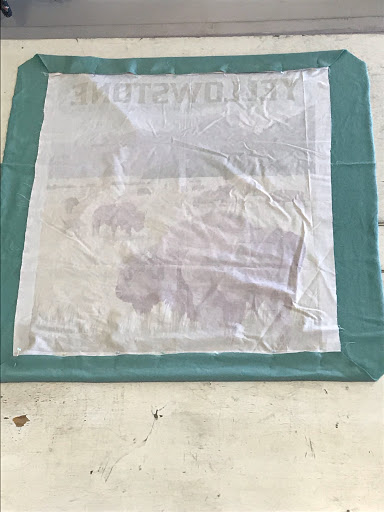
We used the amazing Riley Blake, National Parks Panel of Yellowstone Park to make our version
and backed it with Birch Organic, Fleece in Pool. We used the sweatshirt side of the fleece for
ultimate soft feels.
Sewing Tools to Complete Your project:
Scissors, ruler, marking pen, pins, basic machine sewing, & 1/2” seam allowance suggested.
Scissors, ruler, marking pen, pins, basic machine sewing, & 1/2” seam allowance suggested.

Let’s begin!
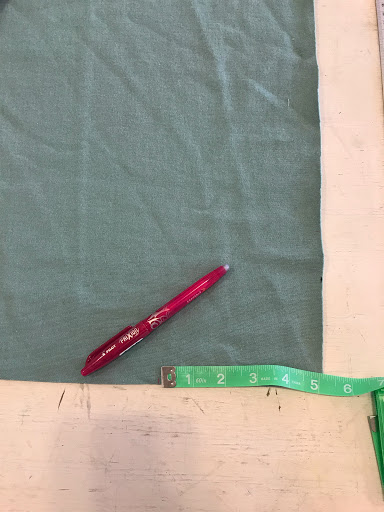
- Trim your panel to 36” x 44” and cut your backing fabric down to measure just 5” inches over each side, so 46” x 54”.
- On your backing fabric, mark 5” inches out from each corner. Mark out the line from each 5” mark and cut it on each corner.
- Place your fabric right sides together and center.
- Pin your top and bottom edges, leaving 5” inches over on each side edge.
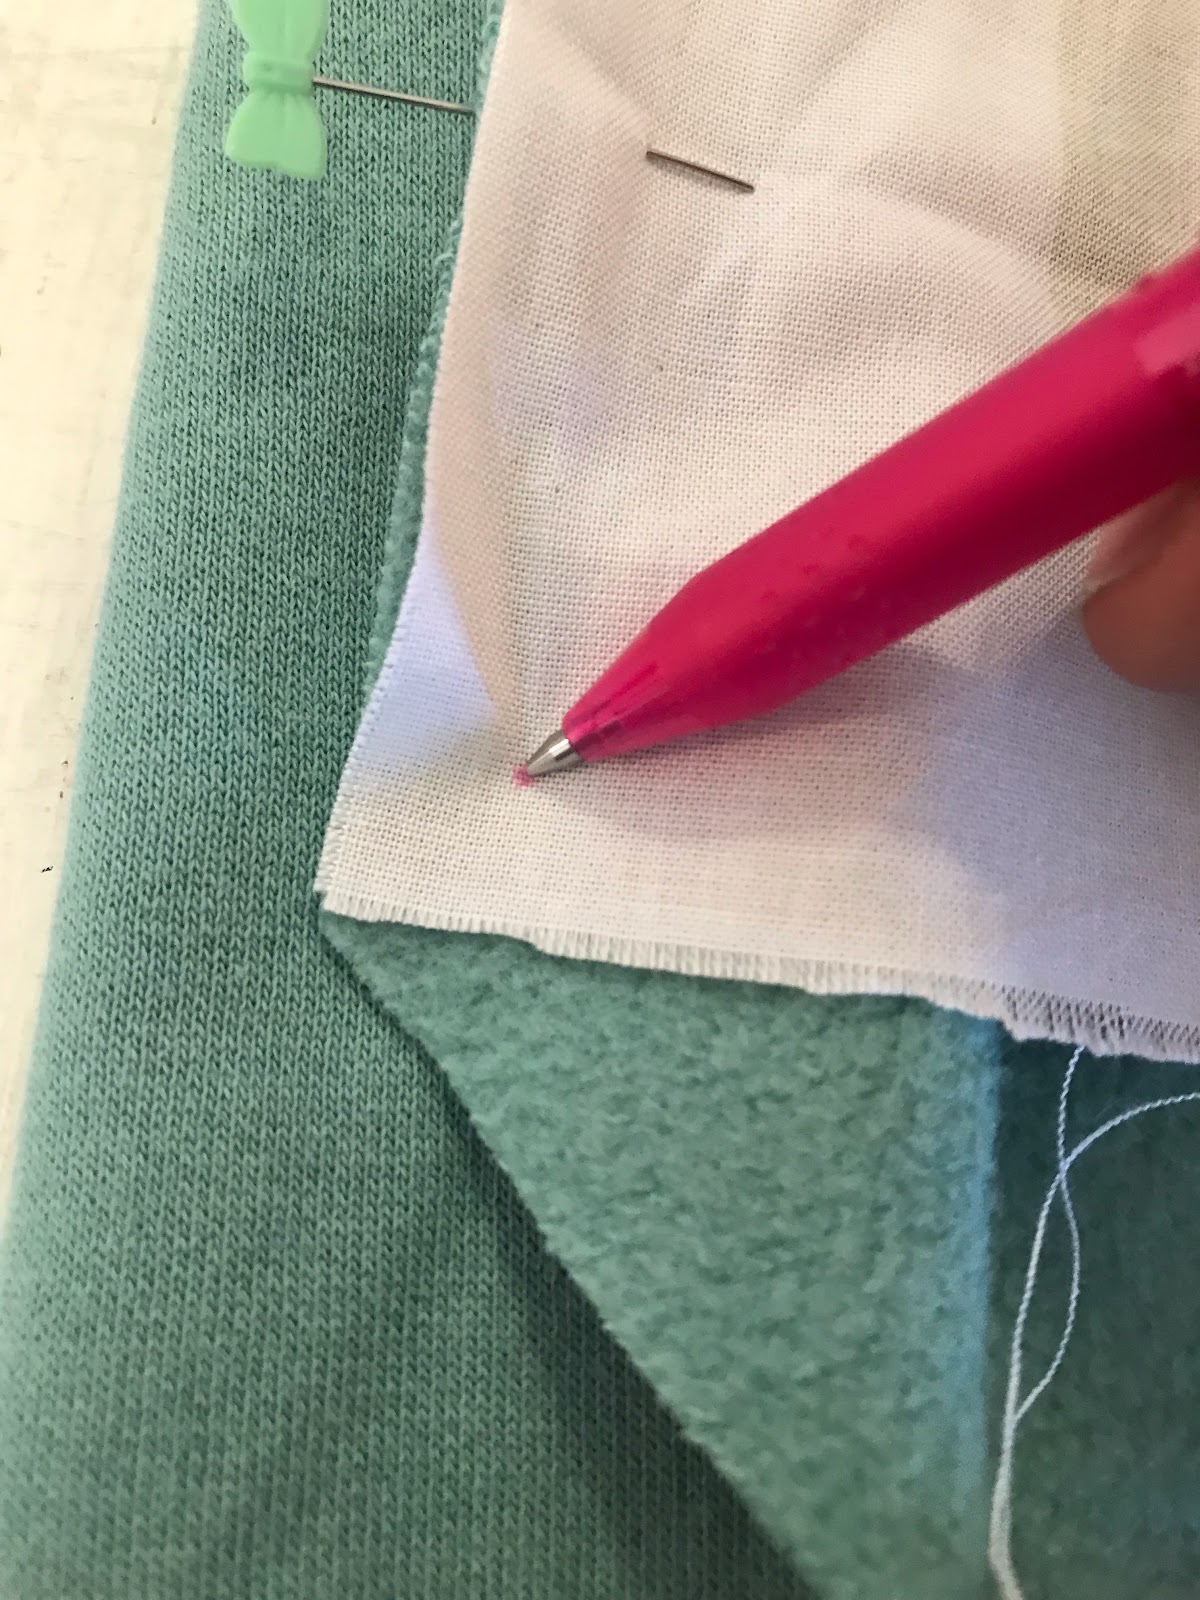
- Using a ruler and marking pen, mark a dot ½” in at all four corners.
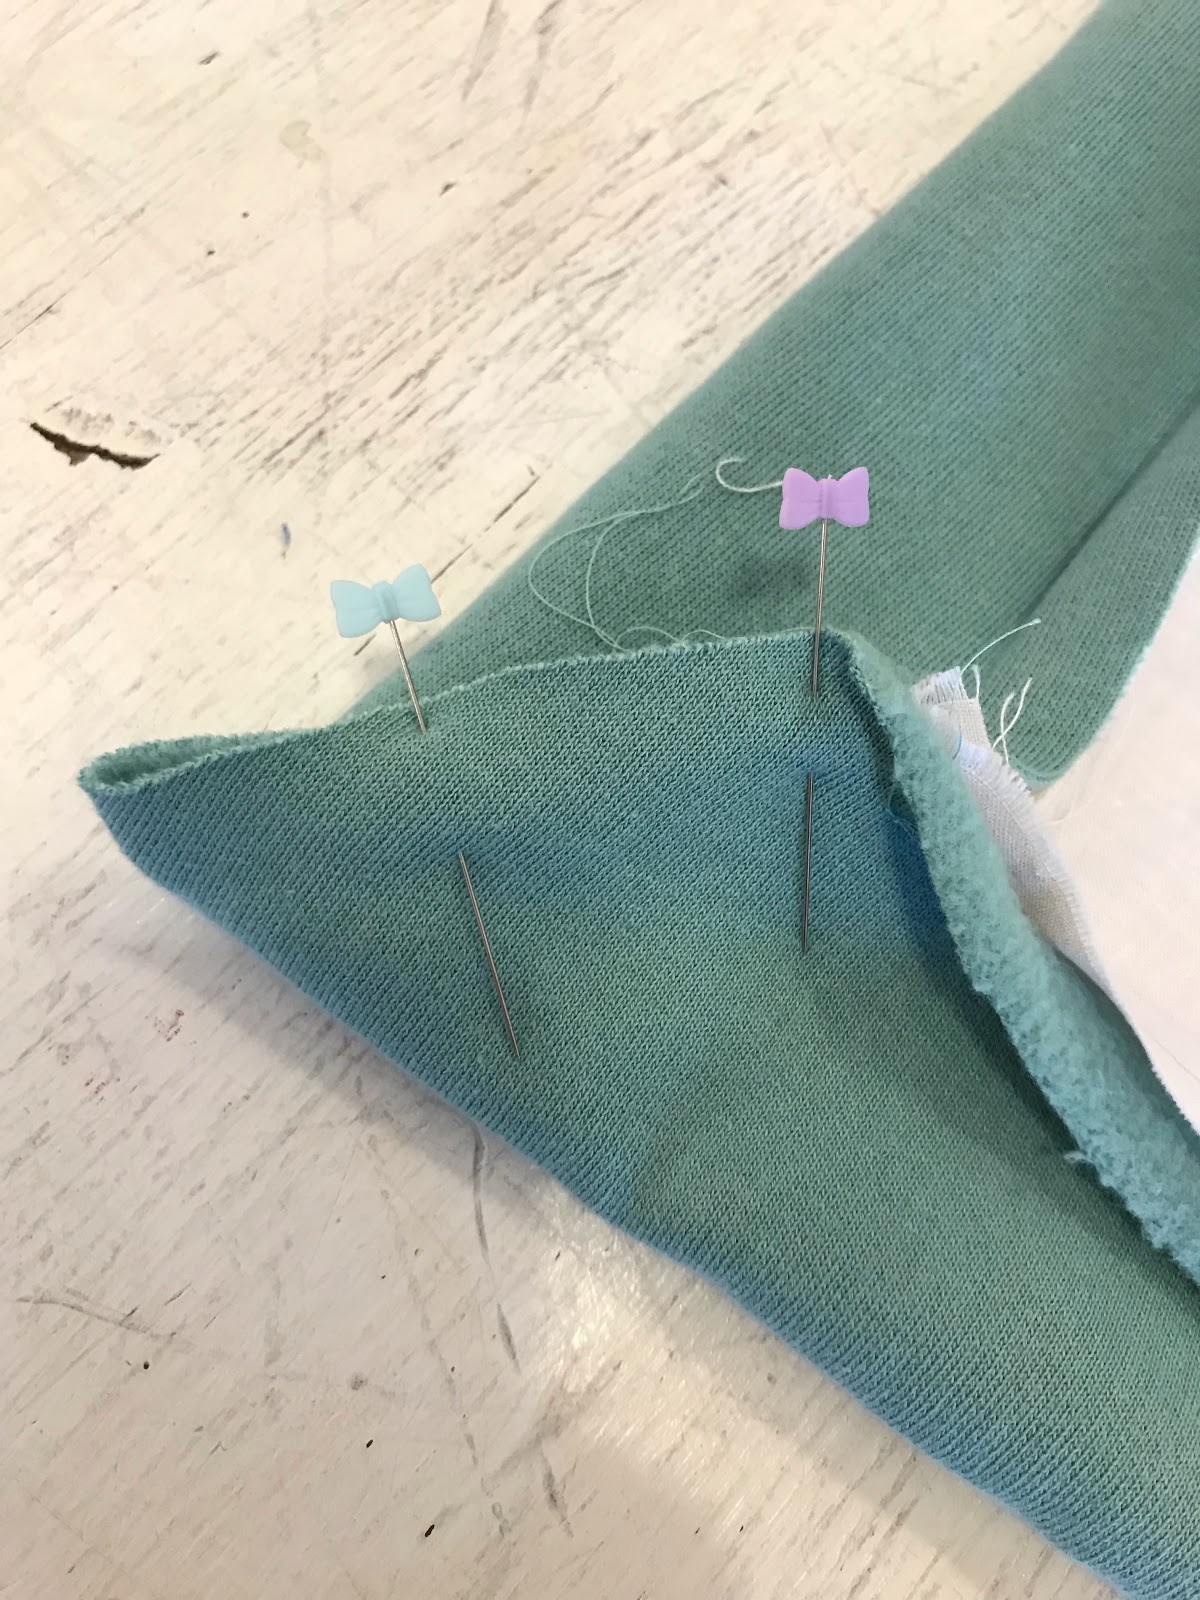
- Sew the top and bottom edges together, starting and stopping at the marks you made. Sew slowly to avoid stretching the fleece, and use extra pins if necessary.
- Pin your sides and leave an 8″ inch opening on one side to turn blanket.
- Sew the top and bottom edges together, starting and stopping at the marks you made. These should start and end at the same marking points at the top and bottom seams.
- Starting in one corner, pin the fleece corner starting at the marking point, and ending at the folded edge. Repeat pinning process in all corners.
- Mark the ½” starting point on the folded edge of the backing and sew with a ½” seam allowance to the marking point. Repeat on all corners.
- Trim corners at 90 degree angle
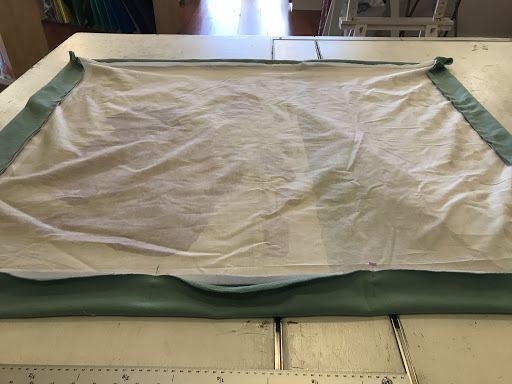
- Iron seams towards fleece and turn blanket.
- Pin seams to fleece and top stitch ¼” into the fleece, this will secure blanket and seams.

- Tada! You’re all done.
Comments
For further information queries, visit our website my cqu
Microsoft Office Professional Plus 2016 product key for free download
Bootstrapper has stopped working - Office installation error
How to fix Windows 10 update error 0x80070422?
Delete Fake Virus Warning from Microsoft Edge
FIX: Windows 10 Update Error 0x80070422 (Solved)
Fix Microsoft Setup Bootstrapper has stopped working
Bitdefender crashing Windows 7
How to cancel AVG
bitdefender update failed