Reposting! Christmas Stocking Tutorial by Melissa Lunden
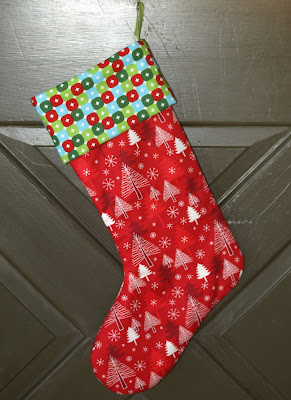
Here is a fast and easy stocking pattern, just in time for the holidays. It is a great way to make a really special gift with some of the fun holiday fabrics available now.
Materials
1/2 yd Robert Kaufman Holiday Trees Celebration (exterior)
1/4 yd Caleb Gray Mod Squares Holiday (cuff)
1/2 yd Robert Kaufman Kona Cotton Solids Snow (lining)
20" x 30" piece of Warm and Natural batting
6 " ribbon for hanging loop
Coordinating thread
INSTRUCTIONS
Print out the stocking pattern. For the exterior body pieces, lay the fabric wrong side up and fold one side over 13 inches. Lay the pattern piece on top. Cut out the pattern with your rotary cutter or trace and cut out with scissors. Repeat for the batting and lining.
 To assemble the body of the stocking, put the two exterior body pieces right sides together. Gently smooth the batting to the wrong sides of the exterior fabric. The batting clings to the fabric, which makes things easier for keeping the pieces together. As you can see in the picture below, you will have a layer of batting, two layers of fabric (right sides together) and then another layer of batting. Pin in place. Sew the four layers together with a 1/2" seam allowance.
 Trim the batting from the seam allowance at the top of the stocking and along the toe and ankle to help reduce bulk. Turn right side out and press. Looking pretty cute already!
 Sew the lining pieces together. Do not turn the lining right side out. Leave it just the way you sewed it. Place lining inside body of the stocking.
 To make the cuff, cut out a rectangle 16" x 9" of the cuff fabric and cut a piece of batting
16" x 4 1/2". Place batting along one edge of the wrong side of the cuff fabric.

Fold the fabric and batting in half. Sew up the short side with 1/2" seam allowance. Trim the batting in the seam allowance to reduce bulk. Press seams open.
 Fold cuff over so the batting is covered. Mark center of raw edge of the cuff opposite from the seam with a pen or by making a small notch in the fabric.
 Place the cuff inside the body of the stocking, aligning the raw edges of cuff with the raw edges of the body. Match the cuff seam with the back body seam and the front seam with the mark you made on the cuff. If the cuff is a little wider than the top of the stocking, simply increase the seam allowance on the cuff to make it the same width as the top of the stocking.
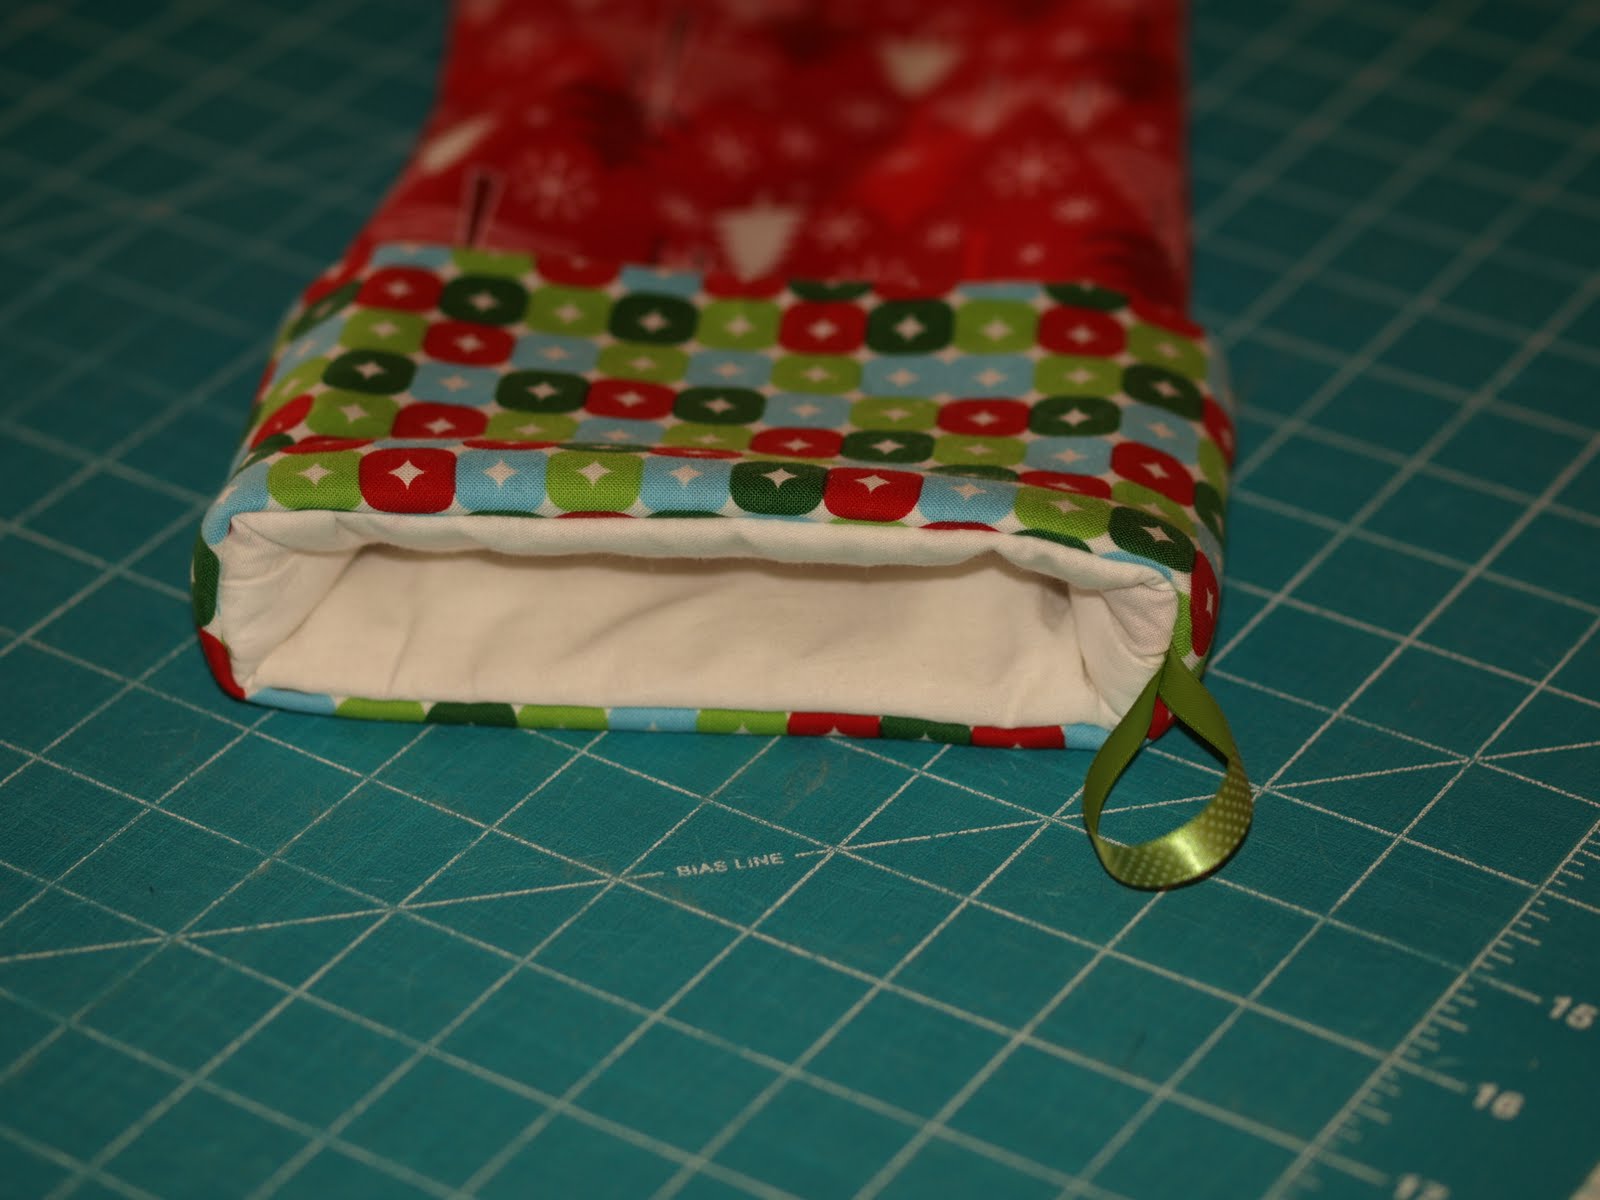
Cut a 6" piece of ribbon and fold in half. Place the ribbon between the lining and the cuff along the back body seam of the stocking. Align the raw edges of the ribbon and the body. The loop of the ribbon should be facing into the body of the stocking.
If the pattern on the cuff is one way, double check to make sure that the pattern will be facing the right direction once it is sewn on and flipped over.
Sew cuff on with 1/2" seam allowance.

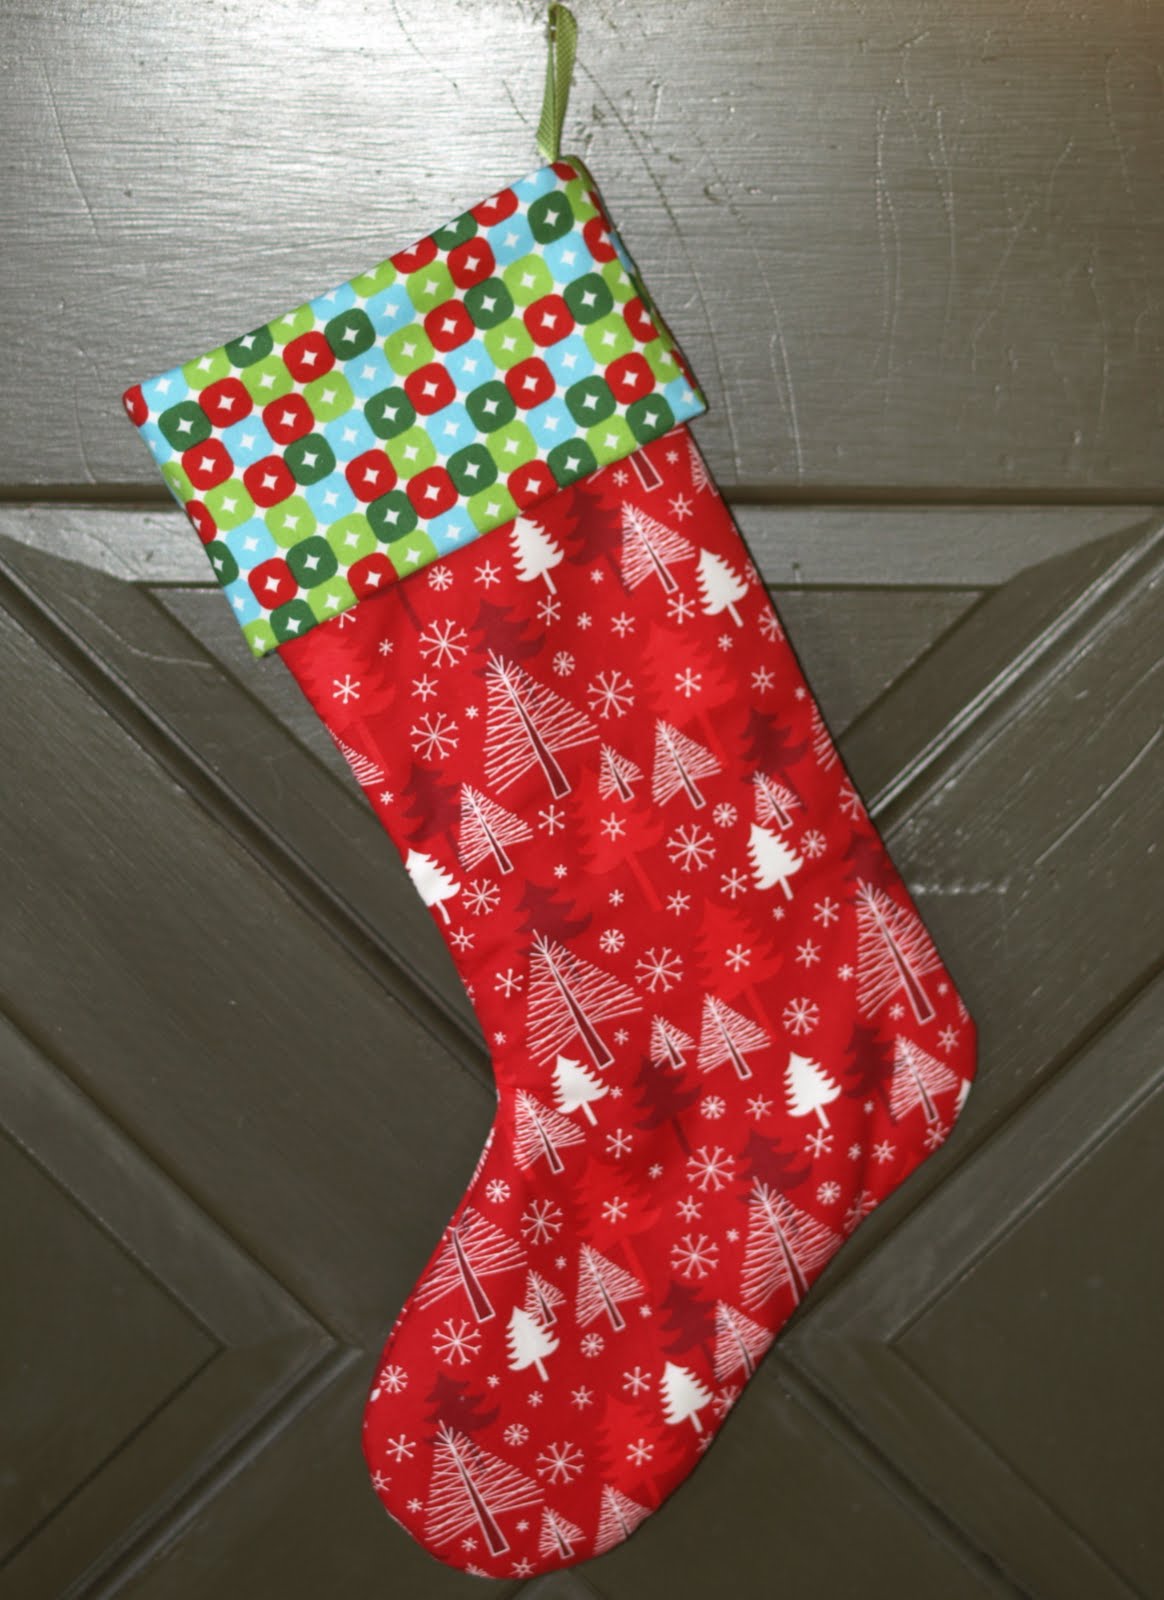
Fold cuff over and you are all done!

And another example for good measure! Find all of our Holiday fabric options here!

Enjoy and Happy Holidays!
The Fabricworm Team
Materials
1/2 yd Robert Kaufman Holiday Trees Celebration (exterior)
1/4 yd Caleb Gray Mod Squares Holiday (cuff)
1/2 yd Robert Kaufman Kona Cotton Solids Snow (lining)
20" x 30" piece of Warm and Natural batting
6 " ribbon for hanging loop
Coordinating thread
INSTRUCTIONS
Print out the stocking pattern. For the exterior body pieces, lay the fabric wrong side up and fold one side over 13 inches. Lay the pattern piece on top. Cut out the pattern with your rotary cutter or trace and cut out with scissors. Repeat for the batting and lining.
 To assemble the body of the stocking, put the two exterior body pieces right sides together. Gently smooth the batting to the wrong sides of the exterior fabric. The batting clings to the fabric, which makes things easier for keeping the pieces together. As you can see in the picture below, you will have a layer of batting, two layers of fabric (right sides together) and then another layer of batting. Pin in place. Sew the four layers together with a 1/2" seam allowance.
 Trim the batting from the seam allowance at the top of the stocking and along the toe and ankle to help reduce bulk. Turn right side out and press. Looking pretty cute already!
 Sew the lining pieces together. Do not turn the lining right side out. Leave it just the way you sewed it. Place lining inside body of the stocking.
 To make the cuff, cut out a rectangle 16" x 9" of the cuff fabric and cut a piece of batting
16" x 4 1/2". Place batting along one edge of the wrong side of the cuff fabric.

Fold the fabric and batting in half. Sew up the short side with 1/2" seam allowance. Trim the batting in the seam allowance to reduce bulk. Press seams open.
 Fold cuff over so the batting is covered. Mark center of raw edge of the cuff opposite from the seam with a pen or by making a small notch in the fabric.
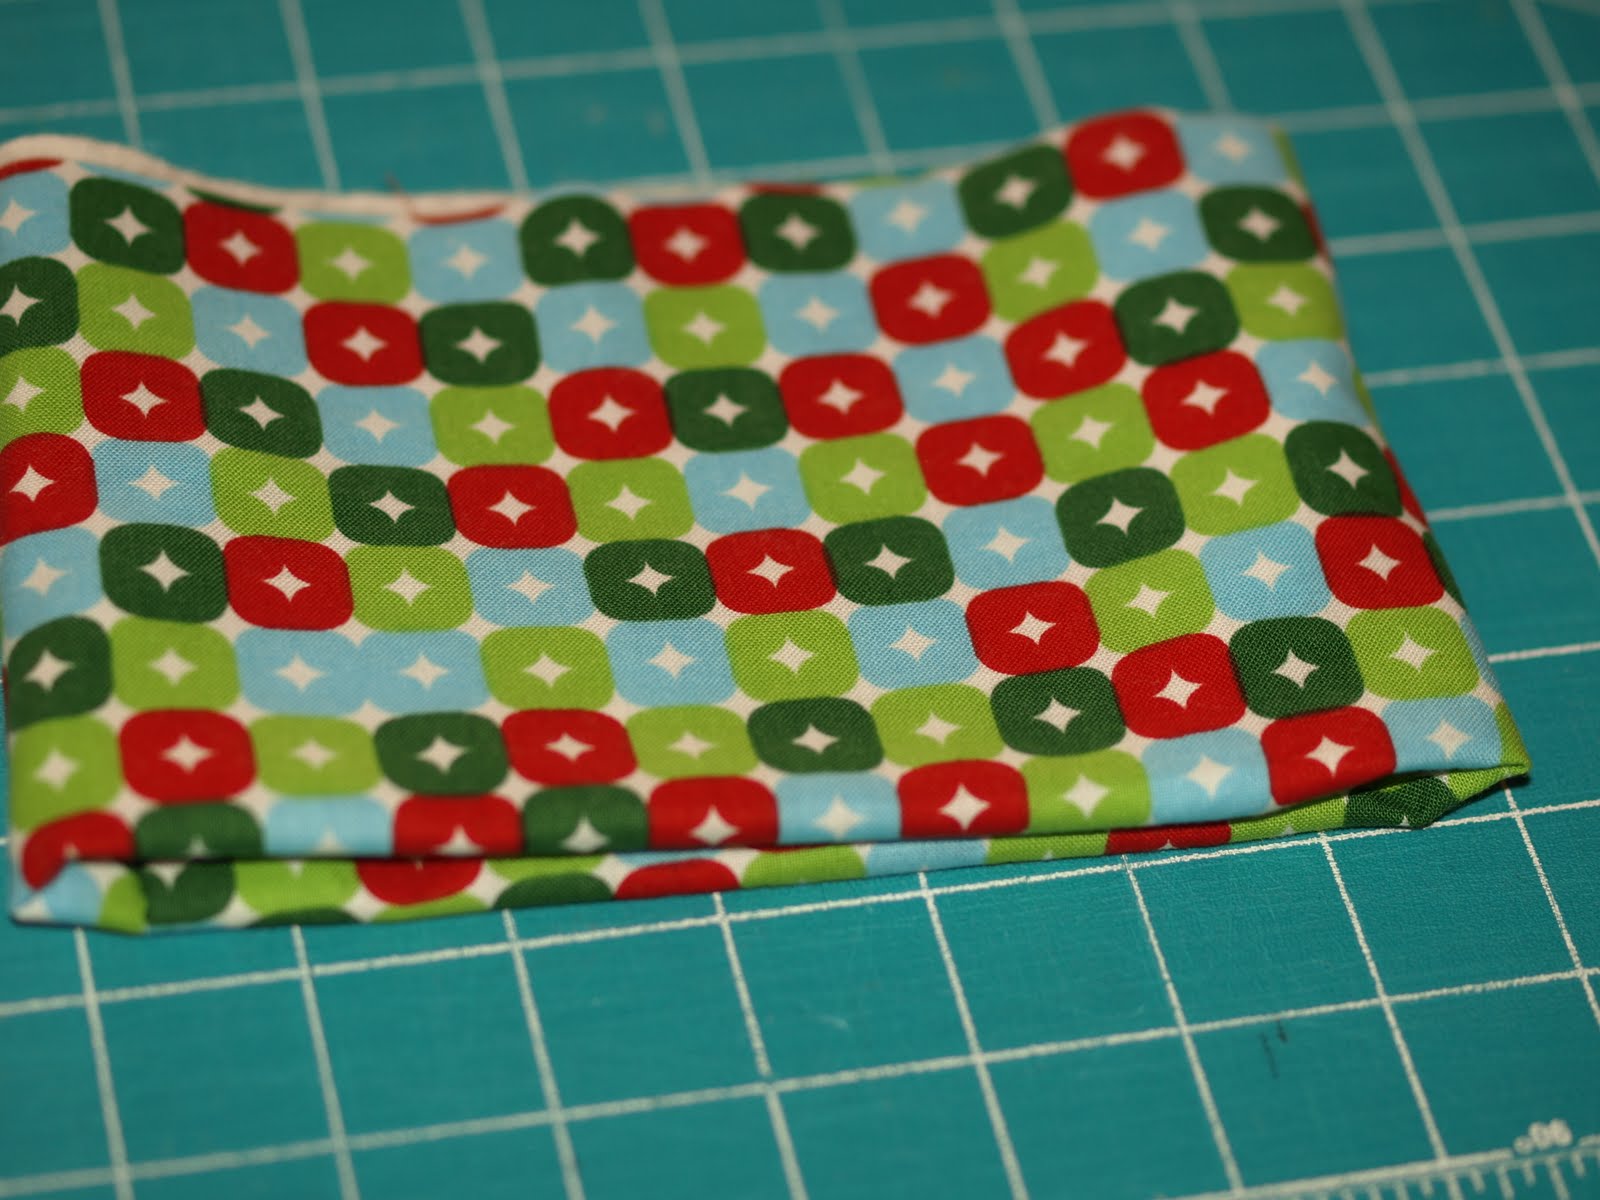 Place the cuff inside the body of the stocking, aligning the raw edges of cuff with the raw edges of the body. Match the cuff seam with the back body seam and the front seam with the mark you made on the cuff. If the cuff is a little wider than the top of the stocking, simply increase the seam allowance on the cuff to make it the same width as the top of the stocking.
Cut a 6" piece of ribbon and fold in half. Place the ribbon between the lining and the cuff along the back body seam of the stocking. Align the raw edges of the ribbon and the body. The loop of the ribbon should be facing into the body of the stocking.
If the pattern on the cuff is one way, double check to make sure that the pattern will be facing the right direction once it is sewn on and flipped over.
Sew cuff on with 1/2" seam allowance.

Fold cuff over and you are all done!
And another example for good measure! Find all of our Holiday fabric options here!

Enjoy and Happy Holidays!
The Fabricworm Team
Comments
I made a stocking for www.purplepandaquilts.com
Lyanna is having a foster child stocking drive until December 1. Try it once and you'll be hooked!
Debbie
Please see link to my blog with pics of the stockings I made using your pattern slightly amended: http://wilksnk.blogspot.co.nz/2013/11/christmas-stockings.html