Lou Lou Thi Pinwheel Quilt Tutorial
View more tutorials on Fabricworm.com
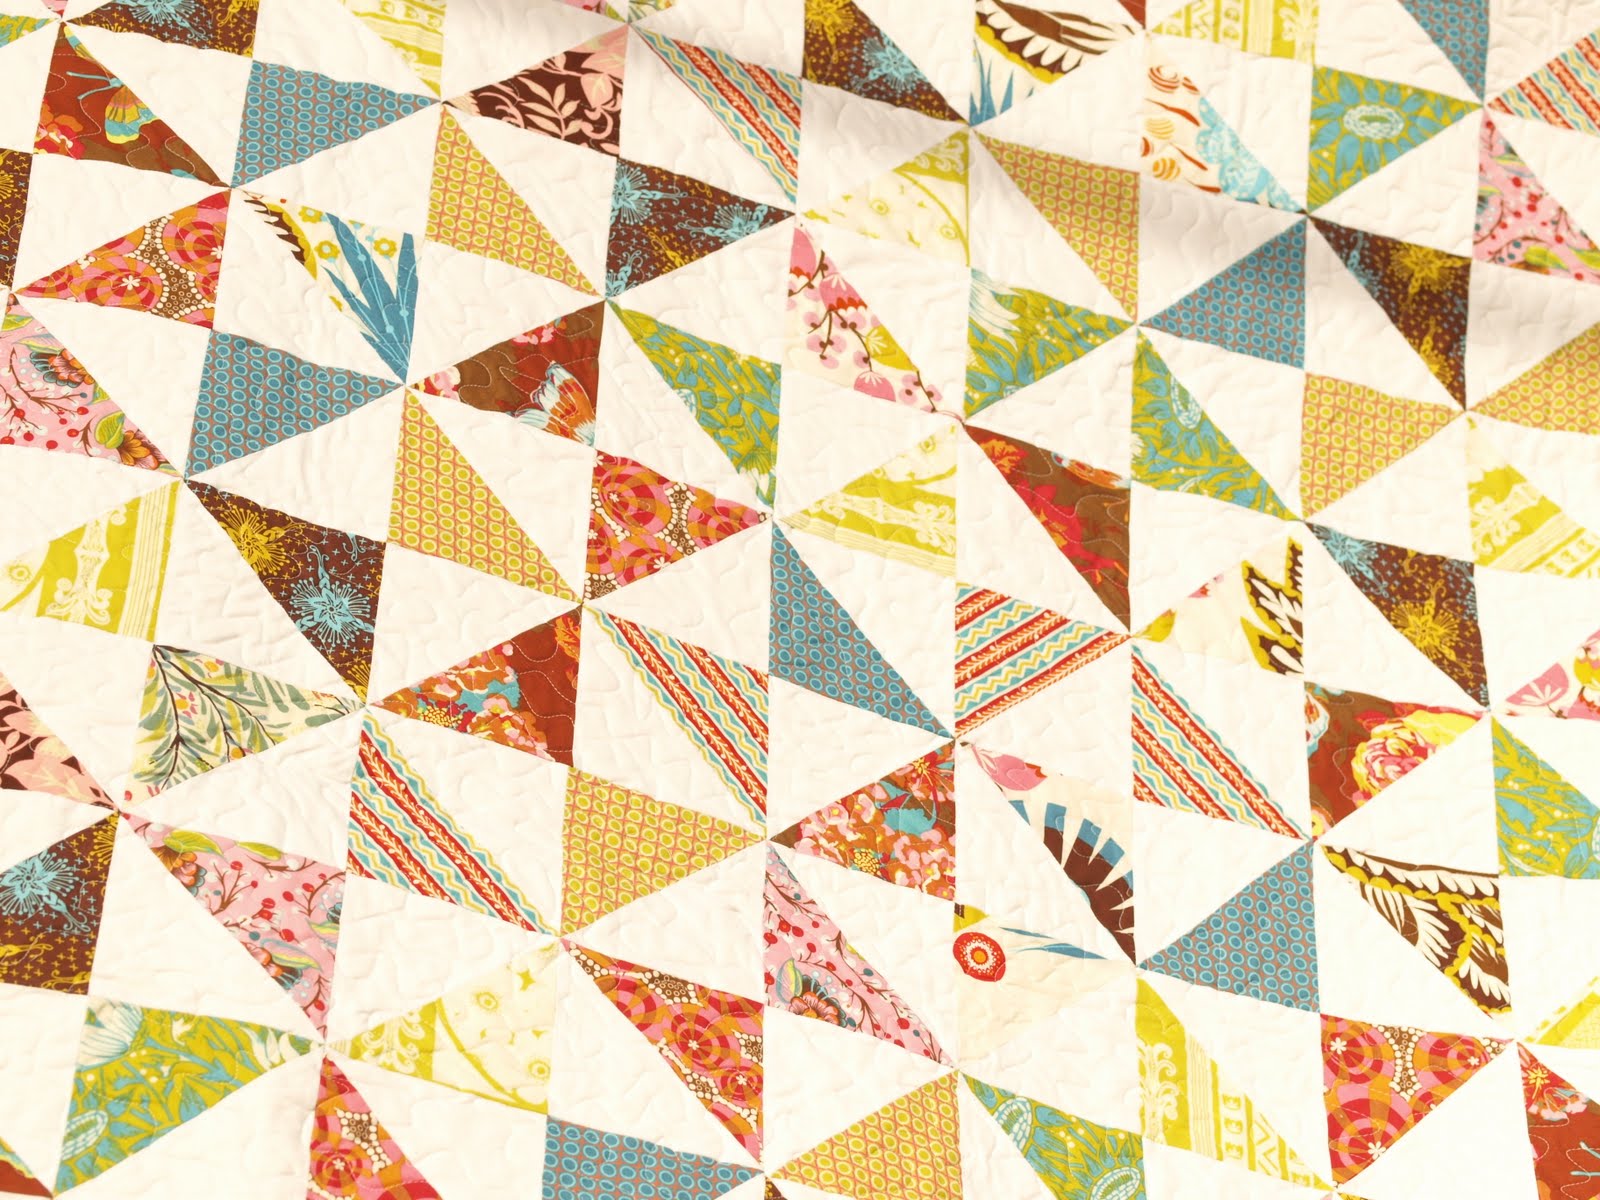
Anna Maria Horner really did it again with her Lou Lou Thi line. I happily finished using it in a quilt to help celebrate one of my favorite three-year old's moving to a big girl bed. The bright, vibrant colors are really fun to work with.


I had been itching to make another pinwheel quilt for a while and stumbled across a fabulous tutorial for a new way of making pinwheel blocks. This great tutorial is making its way around the internet over on An Art Nest's blog. This is definitely a new twist on an old favorite.
This tutorial uses 10 fat quarters of Anna Maria Horners Lou Lou Thi Collection. Fabricworm has a bundle that is perfect for this quilt here:


 |
| Lou Lou Thi Pinwheel Quilt Bundle |
I used Lou Lou Thi Isabela Pallete to make a quilt that is 78" x 78" - perfect for a big girl's new double bed.* Since most quilting cottons are 44" wide, you won't be able to cut five 8" blocks so I am also including a second way of making triangles that you will need to make the remaining blocks. I used Kona White as the contrast solid and the crisp white really makes the bright colors pop. The back is made with Hugs and Kisses Pink Lime and bound with Curated Bloom June.

* I wanted to make this quilt a little longer so I added another row of blocks to make my quilt 78" x 88" with the blocks arranged in 7 x 8 pattern. I needed a little more fabric that what came in the ten print fat quarter stack so I used a little from the binding and two extra prints from my stash. To get the size I wanted, I arranged my blocks in 7 x 8 block pattern so I used a little extra fabric from the binding and two coordinating prints from my stash.
Materials
10 print fat quarter stack of Lou Lou Thi (like this one from Fabricworm)
2 1/2 yards of Kona White
1 yard of Kona White for Border
5 yards of Hugs and Kisses Pink and Lime for backing
1 yard of Curate Bloom June for binding
85" x 90" cotton batting
Coordinating thread
Instructions2 1/2 yards of Kona White
1 yard of Kona White for Border
5 yards of Hugs and Kisses Pink and Lime for backing
1 yard of Curate Bloom June for binding
85" x 90" cotton batting
Coordinating thread
The formula for the 8" blocks is pretty easy to figure out and to adjust to whatever size quilt you want to make. Each finished block is made up for four half triangle squares. An 8" square of a print and an 8" square of a solid, when following the tutorial below, will make one 10 1/4" block.
There is enough fabric in the 10 print fat quarter stack to make a 7 x 7 block pattern. You will be able to cut four 8" squares per fat quarter following the instructions below. This will give you a total of 40 blocks. To make the above quilt in the 7 x 7 block pattern, you will need to make 9 more blocks (36 mini half triangle mini blocks) from the remaining prints. The instructions for both are below.
There is enough fabric in the 10 print fat quarter stack to make a 7 x 7 block pattern. You will be able to cut four 8" squares per fat quarter following the instructions below. This will give you a total of 40 blocks. To make the above quilt in the 7 x 7 block pattern, you will need to make 9 more blocks (36 mini half triangle mini blocks) from the remaining prints. The instructions for both are below.
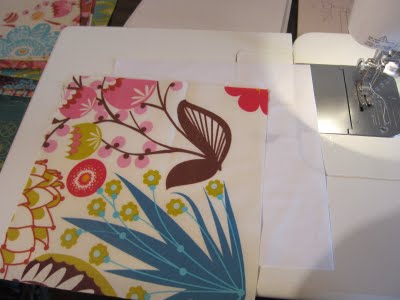
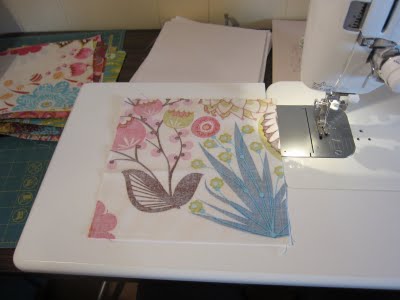
2. Sew along all four edges of the squares with a ¼” seam allowance.
3. Cut the block in half on the diagonal.
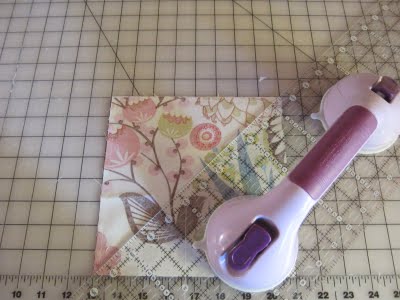
4. Then cut the block into quarters on the other diagonal.
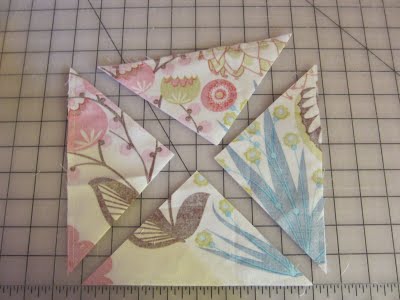
This is what your mini blocks will look like after you cut them.
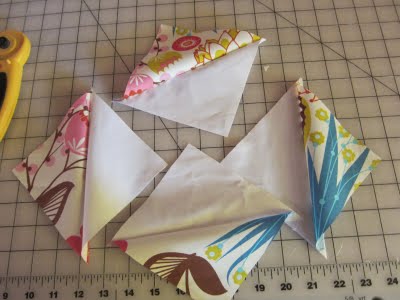
5. Iron the blocks and be sure to press the seams open. This will make your seams look better and your blocks will look more precise. Carefully clip the extra little edges of the seams that stick out over the edge.
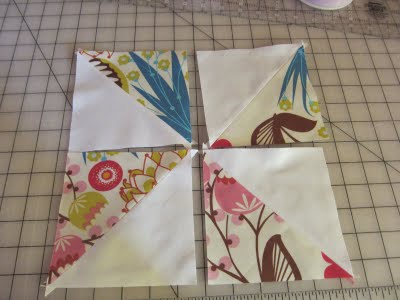
6. Arrange the mini blocks so the solid and the prints alternate. Be very sure that all of the mini blocks are arranged in the same direction. Otherwise, your pinwheels will be spinning in opposite directions and it will give you a big ol' headache. Don't ask me how I know this ; ) Sew two mini blocks together and then sew the other two mini blocks together. Sew those pieces together, being careful to line up the center seams. Press the seams open.
7. To make the last 9 blocks with the remaining fabric, cut 36 5 3/4" squares from what is left of your fat quarters. This works out to be between 3-4 squares per print. Cut 36 5 3/4" squares of Kona white.
 8. Stack a white square on top of a print square. With a ruler and a fabric marker, draw a line diagonally across the square.
 9. Using the line as your guide, sew a 1/4" on both sides of the line.
 10. Using your ruler and your rotary cutter, carefully cut along the line you drew.
 And here is what they look like opened up.
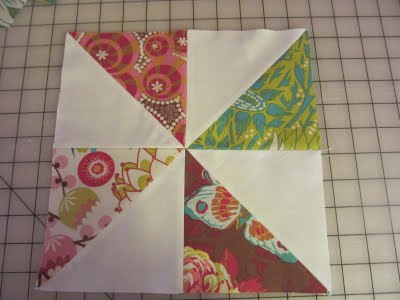
 11. Press the seams open and repeat with the remaining squares. Arrange the mini blocks into larger blocks.
12. Place the blocks in a 7 x 7 arrangement, balancing the prints so they are evenly distributed.
13. Sew each row of 7 together and press the seams open. Then sew each of row together.
14. To make the border, cut from the yard of Kona White nine 4" strips the width of the fabric. Cut off the selvages and sew the strips together. Sew a strip to each side and press the seams open. This is what your quilt top will look like at this point.
 15. Baste, quilt and bind your quilt. Check out this earlier post for tips on quilting and binding.
Congratulations! You are all done.
Have Fun!
The Fabricworm Girls
Comments