A Market Purse Tutorial using Avalon Happy Cruisers
I had so much fun sewing up samples and getting to know the Birch Organics' Avalon line of fabrics over the past month. The Diamond Bikes print just jumped out at me as being perfect for a purse. With Cynthia heading to Quilt Market, it seemed like the perfect excuse to whip up something for her to use while she was there. The fact that it is a perfect summer bag is just a bonus.
 Here is the interior of the bag, with a pocket and magnetic snaps to keep everything in its place.
 To make this purse even more sophisticated and durable, I used some of the linen for the lining on the bottom of the bag.

1 yard of Robert Kaufman Essex Linen Lime
3/4 yard of heavy weight fusible interfacing
1/2 yard of 45" cotton batting
1 magnetic snap
1. Cut one strip of Diamond Bikes and 1 strip of Essex Linen Lime 2 3/4" wide by 25" long for the strap.
2. Cut two 16 1/2" x 16 1/2" squares of Diamond Bikes and Essex Linen Lime for the body of the bag.
3. Cut two 16 1/2" x 16 1/2" squares of cotton batting.
4. Cut one 7" x 14" rectangle of Essex Linen Lime for interior pocket.
5. Cut one 7" x 16 1/2" strip of Essex Linen Lime for the bottom of the purse.
6. Fuse the interfacing to the Diamond Bikes pieces for the body of the bag and the strap.
7. Sew the 2 Diamond Bike pieces together with a 1/2" seam allowance, making sure that the bicycles are facing in the right direction. Press the seam open.

8. Lay the cotton batting on to the two Essex Linen Lime pieces, smoothing out the wrinkles. The batting should cling to linen. Sew the two pieces together with a 1/2" seam allowance.

9. Take the 7" x 16 1/2" piece of Essex Linen Lime and fold over the long sides 1/2" and press.

10. Place the Essex Linen Lime panel over the center seam of the Diamond Bikes and top stitch in place.

11. To make the bottom of the bag, draw a rectangle 3" x 1 1/2" over the seam on both sides of the Diamond Bikes pieces. Make sure that rectangle is centered over the seam. You might find it easier to do this with the wrong sides facing up.

12. Repeat for the Essex Linen Lime panels.

13. To give the bag a little more shape, cut a diagonal line from the cutout you just made to 1" from the top of the bag. Repeat on the other side and on the exterior of the bag.
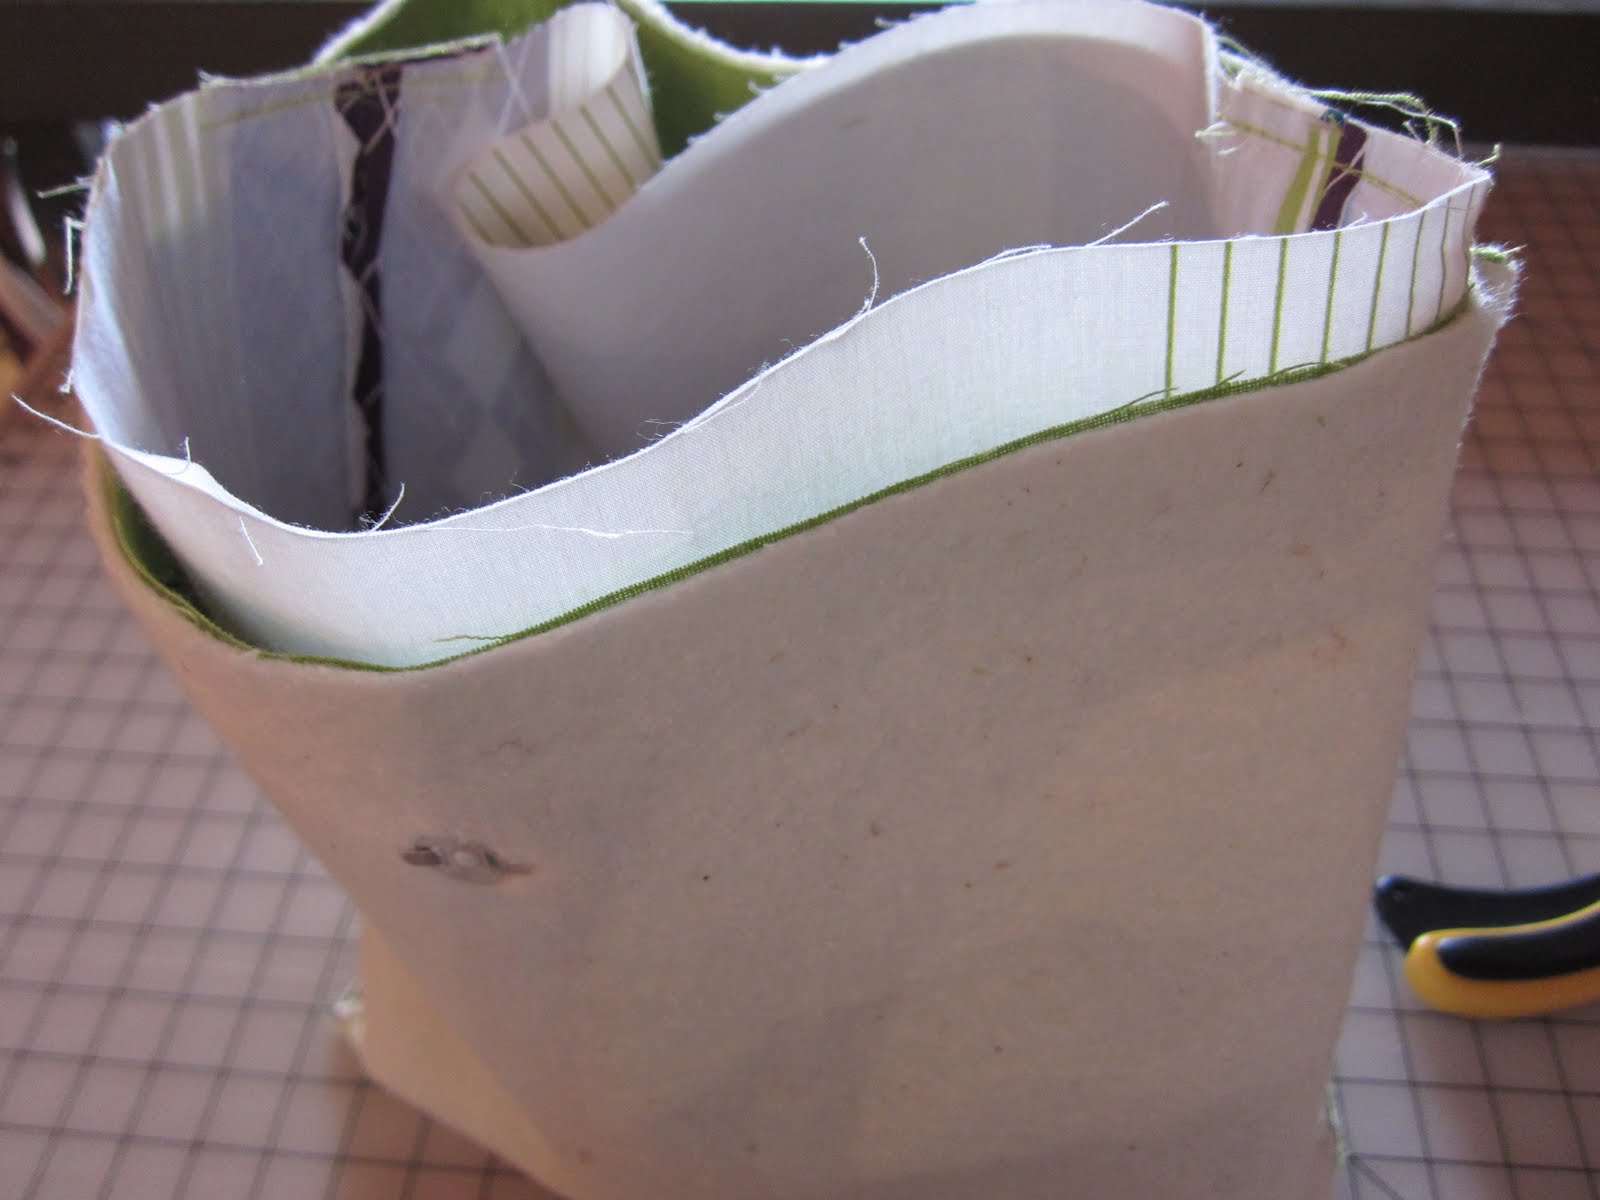
 Here is what the body of the bag should look like after you shaped it.


14. Fold the 7' x 14" Essex Linen Lime piece in half to make the pocket. Sew the halves together with a 1/4" seam allowance. Leave a 2" opening on one side to turn the pocket right side out. Trim the corners.

13. Turn the pocket right side out and press.

14. Place the pocket on one side of the lining centered and 3" from the top of the bag. Pin or use double sided tape to keep place. Stitch around the edge with an 1/8" seam allowance. Be sure that the side with opening is sewn closed with the stitching.

15. Sew up the sides of the exterior and lining of the bag with a 1/2" seam allowance. On the exterior of the purse, make sure the linen bottom side seams match. Sew the bottom corners closed by pinching the bottom seam and the side seam together.
 Sew the bottom corners closed with a 1/2" seam allowance.

Sew both side seams of the lining but only sew one bottom corner. You will use the one left open to pull the exterior of the bag through once it is sewn together.

16. Place the 2 strap pieces right sides together. Sew along one edge with a 1/4" seam allowance.
 Flip over, press and top stitch along the same seam.

17. Iron under the other sides of the strap 3/8".
 Top stitch along the length of the strap.

18. Sew the straps onto the exterior of the purse, centering the straps on the seams, with a 1/4" seam allowance.

19. Insert the magnetic snaps above the pocket on the lining fabric.

20. Turn the lining wrong-side out and place exterior (right side out) inside the lining. Make sure the strap is tucked in between the lining and the exterior. Align the lining with the exterior, matching at the seams. Pin in place.

21. Sew the exterior to the lining with a 1/2" seam allowance.
22. Pull the exterior through the opening at the bottom of the lining. Press and top stitch.

23. Sew the opening in the lining closed with coordinating thread.

Congratulations! You are all finished!
 Here is the interior of the bag, with a pocket and magnetic snaps to keep everything in its place.
 To make this purse even more sophisticated and durable, I used some of the linen for the lining on the bottom of the bag.
MATERIALS
3/4 yard of Birch Organics Avalon Diamond Bikes 1 yard of Robert Kaufman Essex Linen Lime
3/4 yard of heavy weight fusible interfacing
1/2 yard of 45" cotton batting
1 magnetic snap
DIRECTIONS
1. Cut one strip of Diamond Bikes and 1 strip of Essex Linen Lime 2 3/4" wide by 25" long for the strap.
2. Cut two 16 1/2" x 16 1/2" squares of Diamond Bikes and Essex Linen Lime for the body of the bag.
3. Cut two 16 1/2" x 16 1/2" squares of cotton batting.
4. Cut one 7" x 14" rectangle of Essex Linen Lime for interior pocket.
5. Cut one 7" x 16 1/2" strip of Essex Linen Lime for the bottom of the purse.
6. Fuse the interfacing to the Diamond Bikes pieces for the body of the bag and the strap.
7. Sew the 2 Diamond Bike pieces together with a 1/2" seam allowance, making sure that the bicycles are facing in the right direction. Press the seam open.

8. Lay the cotton batting on to the two Essex Linen Lime pieces, smoothing out the wrinkles. The batting should cling to linen. Sew the two pieces together with a 1/2" seam allowance.

9. Take the 7" x 16 1/2" piece of Essex Linen Lime and fold over the long sides 1/2" and press.

10. Place the Essex Linen Lime panel over the center seam of the Diamond Bikes and top stitch in place.

11. To make the bottom of the bag, draw a rectangle 3" x 1 1/2" over the seam on both sides of the Diamond Bikes pieces. Make sure that rectangle is centered over the seam. You might find it easier to do this with the wrong sides facing up.

12. Repeat for the Essex Linen Lime panels.

13. To give the bag a little more shape, cut a diagonal line from the cutout you just made to 1" from the top of the bag. Repeat on the other side and on the exterior of the bag.
 Here is what the body of the bag should look like after you shaped it.

14. Fold the 7' x 14" Essex Linen Lime piece in half to make the pocket. Sew the halves together with a 1/4" seam allowance. Leave a 2" opening on one side to turn the pocket right side out. Trim the corners.

13. Turn the pocket right side out and press.

14. Place the pocket on one side of the lining centered and 3" from the top of the bag. Pin or use double sided tape to keep place. Stitch around the edge with an 1/8" seam allowance. Be sure that the side with opening is sewn closed with the stitching.

15. Sew up the sides of the exterior and lining of the bag with a 1/2" seam allowance. On the exterior of the purse, make sure the linen bottom side seams match. Sew the bottom corners closed by pinching the bottom seam and the side seam together.
 Sew the bottom corners closed with a 1/2" seam allowance.
Sew both side seams of the lining but only sew one bottom corner. You will use the one left open to pull the exterior of the bag through once it is sewn together.

16. Place the 2 strap pieces right sides together. Sew along one edge with a 1/4" seam allowance.
 Flip over, press and top stitch along the same seam.
17. Iron under the other sides of the strap 3/8".
 Top stitch along the length of the strap.
18. Sew the straps onto the exterior of the purse, centering the straps on the seams, with a 1/4" seam allowance.

19. Insert the magnetic snaps above the pocket on the lining fabric.

20. Turn the lining wrong-side out and place exterior (right side out) inside the lining. Make sure the strap is tucked in between the lining and the exterior. Align the lining with the exterior, matching at the seams. Pin in place.
21. Sew the exterior to the lining with a 1/2" seam allowance.
22. Pull the exterior through the opening at the bottom of the lining. Press and top stitch.

23. Sew the opening in the lining closed with coordinating thread.

Congratulations! You are all finished!
Comments
Cynthia
Your bag looks gorgeous!!
Debbie